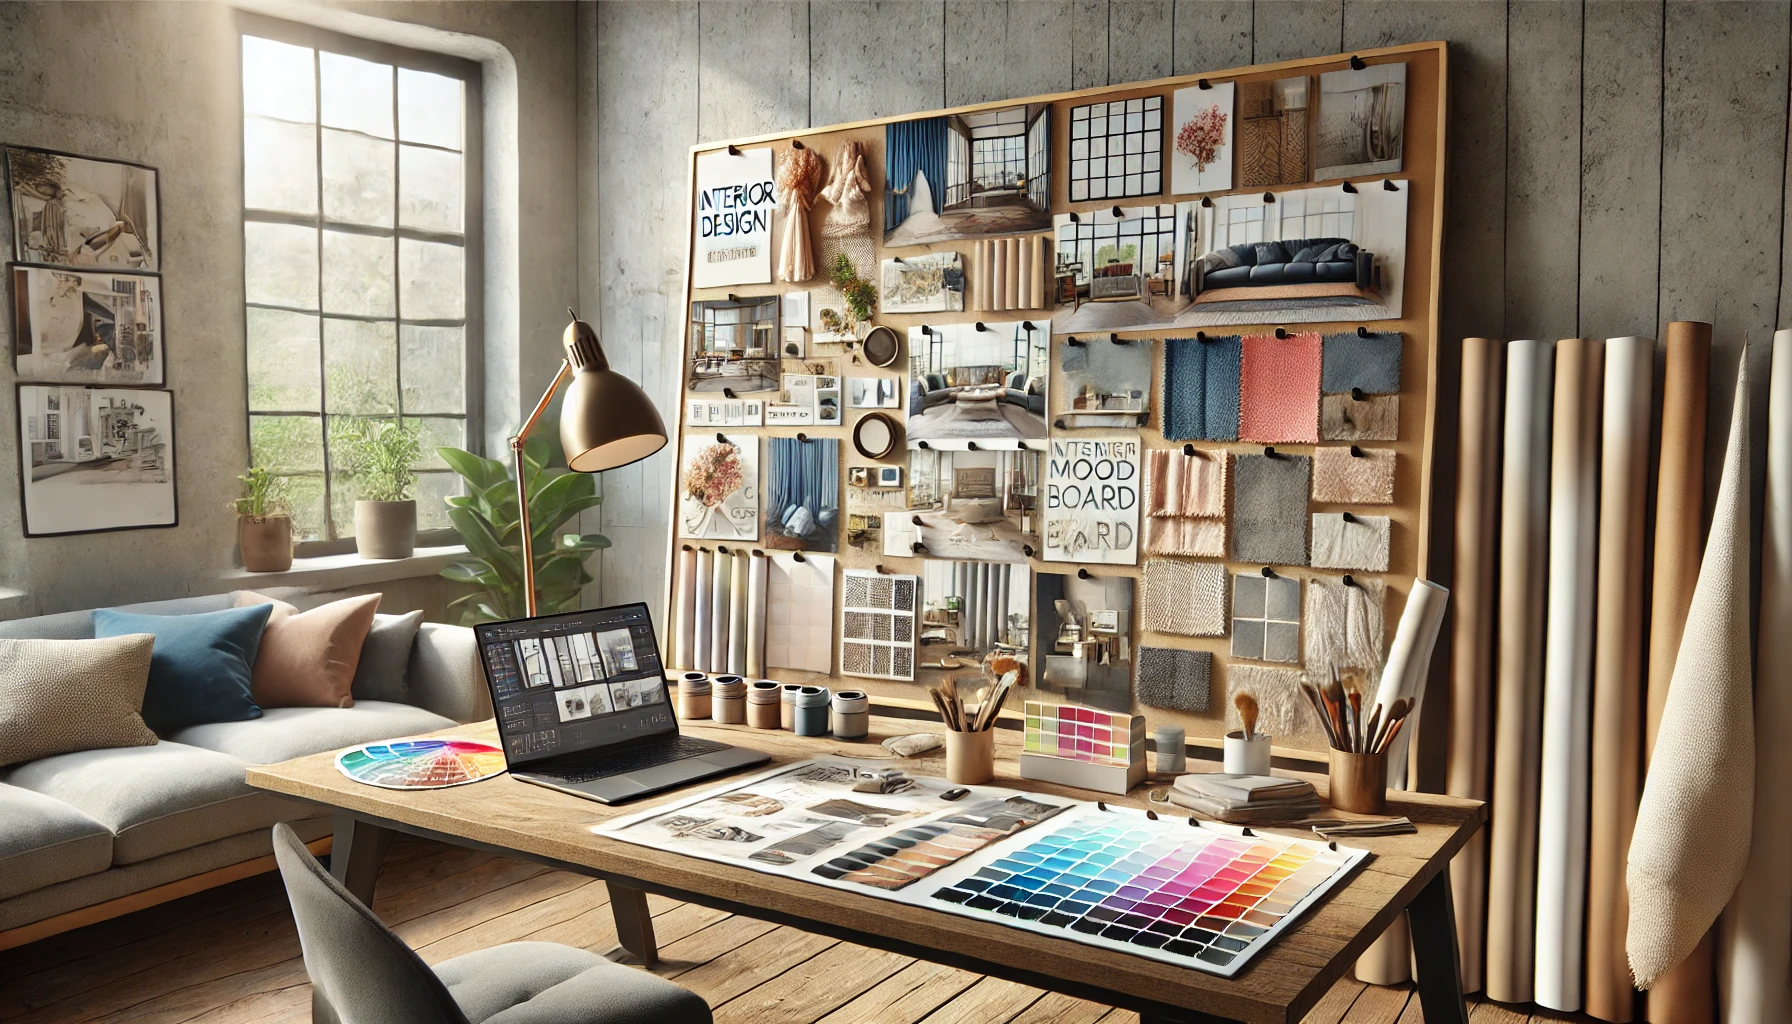
Creating a mood board is one of the most effective ways to bring your interior design ideas to life. This visual tool serves as a blueprint for your project, organizing inspirations, colors, textures, and styles into a cohesive design direction. Whether you’re a seasoned designer or a DIY enthusiast, a well-crafted mood board can simplify the design process, ensuring your vision stays clear from start to finish. In this section, we’ll focus on the initial steps: defining your concept and establishing a color palette.
The first step in creating a mood board is setting a clear direction for your design. To do this, start by defining the concept, theme, or overall style you wish to capture. Think of your concept as the mood or personality you want your space to convey—it’s the essence that will tie everything together. Are you aiming for a sleek, modern look, or does a cozy, rustic aesthetic feel more appealing? Perhaps you’re inspired by the vibrant colors and textures of bohemian decor, or maybe the minimalist simplicity of Scandinavian design speaks to you.
To make the concept more tangible, consider what you want the space to feel like and how it should function. For example, a living room might aim to be warm and inviting, encouraging relaxation, while an office may need to feel inspiring and organized to boost productivity. Once you have a theme or style in mind, it becomes much easier to make design choices that align with this vision, helping you stay consistent as you gather inspiration and select specific elements.
After defining your concept, the next essential step is choosing a color palette that captures the mood you want to create. Your color choices will influence the entire feel of the space, setting the tone and serving as a foundation for all other design elements. For instance, soft neutrals and earth tones can evoke calm and warmth, while bold, saturated colors might bring energy and vibrancy to a room.
Consider how different colors make you feel and how they interact with each other. For a cohesive look, stick to a primary color and two or three complementary hues that will work together seamlessly. You can also experiment with various shades and tones to create depth. If you’re unsure where to start, look to sources of inspiration that align with your concept, such as nature, art, or fashion, to guide your color choices.
Once you’ve decided on a color scheme, collect samples or swatches to represent each color on your mood board. Whether using physical paint samples, fabric swatches, or digital color tools, having a visual representation of your palette will make it easier to incorporate additional design elements that match or complement your chosen colors. A consistent color scheme across your board will give it a balanced, harmonious appearance, making it a powerful visual guide as you bring your design to life.

To truly capture your vision, it’s essential to gather a variety of visual references that resonate with your concept. Inspiration can come from almost anywhere—magazines, art galleries, nature, or even a favorite piece of furniture. However, some go-to resources are invaluable for building a comprehensive collection of ideas for your mood board.
Online Resources: Websites like Pinterest, Houzz, and Instagram are rich with ideas for interior design. Pinterest, for instance, allows you to save images directly onto a digital board, helping you easily organize inspiration in one place. You can search by keywords like “bohemian living room,” “minimalist bedroom,” or “industrial kitchen” to find a wealth of visuals that match your theme.
Interior Design Magazines and Blogs: Physical magazines and design blogs are classic sources of inspiration. Interior design magazines often feature the latest trends, timeless styles, and curated decor elements, providing a broader perspective on style choices. Look for images that show room layouts, furniture pieces, color combinations, or textures that align with your concept. Many online design blogs also curate these elements, making it easy to explore a range of styles.
Swatches and Samples: Collect fabric swatches, paint samples, wood finishes, and material samples. These tactile elements are especially helpful if you’re creating a physical mood board and want to explore the interplay of colors, textures, and finishes in a more hands-on way. For a digital board, you can find images of these samples online to include in your collection.
Furniture and Decor: Select specific pieces of furniture, artwork, lighting, and accessories that fit your vision. Even if you don’t plan to use these exact pieces in your space, they can represent the style and ambiance you want to achieve. For instance, a rustic wood coffee table might inspire an earthy, natural feel, while a sleek glass lamp might evoke a modern, minimalist vibe.
Other Visual Cues: If your design is inspired by a specific place, era, or mood, consider adding images or items that reflect these influences. For instance, if you’re drawn to a Mediterranean aesthetic, images of terracotta pots, beach landscapes, or Mediterranean architecture can help to refine and bring clarity to your mood board.
Now that you’ve gathered a variety of inspiring visuals, it’s time to decide on the format for your mood board. Both physical and digital boards offer unique advantages, so choose one that best fits your process, or even try combining both if you’re feeling creative!
Physical Mood Board: A physical board offers a tactile approach and is perfect for those who enjoy working hands-on. Use a corkboard, poster board, or foam board to pin or glue down images, swatches, and samples. This approach allows you to easily move elements around and experiment with different layouts. Adding physical textures like fabric or paint chips can help you understand how materials interact, which is especially useful in interior design.
Digital Mood Board: Digital boards are convenient, flexible, and ideal for experimenting with different arrangements. Here are some popular tools for creating digital mood boards:
Canva: Canva offers user-friendly templates and drag-and-drop functionality, making it easy to arrange images and experiment with layouts. Canva is perfect for beginners and provides access to a variety of design elements, fonts, and images.
Pinterest: Pinterest allows you to create a virtual board where you can save images from across the web. You can create multiple boards, organizing them by room or theme, and explore suggestions for similar images based on your existing pins.
Adobe Illustrator/Photoshop: For those comfortable with advanced tools, Adobe software offers precision and customization options. You can manipulate images, colors, and layouts to create a highly detailed board that truly reflects your vision.
Milanote: Specifically designed for creative projects, Milanote allows you to upload images, add notes, and arrange elements in an organized, intuitive layout. It’s a great option for those who want to incorporate different types of visuals and easily revise their board as their ideas evolve.
Choosing the right tool depends on your style and workflow. Physical boards provide a hands-on feel and a satisfying tactile experience, while digital tools allow for easy rearrangement and experimentation. Consider trying both approaches to see which one resonates most with your creative process.
With your inspirations and chosen tools at hand, start arranging the collected images, samples, and other elements. The goal is to create a visual flow that captures the overall style and feel of your space. Experiment with different placements and combinations to see what works best, paying attention to the balance of colors, textures, and styles.
Start with Your Color Palette: Place your color swatches or images that represent your palette at the center or top of the board. This helps establish the foundational mood and allows other elements to be added with color harmony in mind. Try to arrange the color blocks in a way that transitions smoothly, helping you visualize how these shades will work together in the actual space.
Layer Textures and Materials: Add swatches of fabrics, finishes, and textures around the color palette. For instance, if you’re incorporating wood and metal finishes, place them near furniture inspirations that would feature these materials. This gives a sense of the tactile qualities and depth your design will have, making it easier to see how different textures will interact.
Incorporate Key Furniture and Decor Elements: Choose a few focal pieces, like a sofa, rug, or artwork, and arrange them in a way that anchors the board. If you’re using a physical board, you might even print out images and layer them slightly to create a sense of depth. For digital boards, try scaling images to represent the visual importance of each item—larger images can signify statement pieces, while smaller ones can represent accents.
Add Finishing Touches: Once you have the main elements in place, incorporate smaller details like accessories, lighting, and greenery. These elements add warmth and character, making your design feel complete. Even if they’re not finalized choices, these small touches can inspire your final selections by adding personality to the mood board.
Once you have assembled your mood board, take a step back to review it with fresh eyes. Reflection is essential in ensuring that your mood board truly captures the look and feel you envision for your space. Here’s how to assess and refine your board:
Take a Break: Step away from your mood board for a day or two, then come back to it with a fresh perspective. This break helps you see the board more objectively and may reveal elements that feel out of place or highlight areas that need improvement.
Assess Balance and Harmony: Look at the overall balance of colors, textures, and shapes. Are there areas that feel too heavy or too sparse? Is there a good mix of textures? Adjust elements as needed to achieve a harmonious look, ensuring no single color or item overwhelms the board.
Check for Consistency: Ensure that every piece aligns with your initial design concept and color palette. If an item feels out of sync with the rest, consider replacing it with something more aligned with your vision. This is also a good time to see if there are any gaps that need to be filled—perhaps adding an extra accessory or pattern would make the board feel more complete.
Seek Feedback: If you’re comfortable, ask a friend, family member, or even a fellow designer for feedback. Sometimes a fresh set of eyes can offer valuable insights, helping you refine details you may have overlooked.
Once you’re satisfied with the balance, consistency, and overall feel of your mood board, it’s time to finalize it. This completed board will be your reference throughout the design process, guiding your decisions and helping you stay true to your concept. Depending on whether your mood board is physical or digital, here’s how to finalize it:
For Physical Boards: Make sure all elements are securely attached, and take high-quality photos of your board for reference. This way, even if you need to disassemble it, you’ll have a visual guide that’s easy to access. You can also store smaller boards in a portfolio or binder for easy transport and review.
For Digital Boards: Save a copy of your digital mood board as a PDF or image file. If you’re using an online platform like Milanote or Canva, you can share your board directly with clients or collaborators. You can also print it out to create a physical reference if you prefer having a tangible guide on hand.
Create a Folder for Additional Inspirations: Throughout the design process, you may come across new inspirations that fit your mood board. Save these extras in a dedicated folder or as a secondary digital board to revisit if you need fresh ideas or options for specific items. This way, your finalized board remains cohesive, but you have room for creative flexibility.
A well-crafted mood board is more than just a collection of ideas—it’s a visual guide that keeps you aligned with your original vision. By defining your concept, choosing a harmonious color palette, gathering inspirations, and carefully assembling the board, you create a powerful tool to refer back to as you bring your design to life. As you start purchasing items, arranging furniture, and finalizing decor, your mood board will ensure that every choice complements your overall style, making the design process smoother, more cohesive, and ultimately more enjoyable.
Whether you’re designing a single room or an entire home, a mood board allows you to explore and refine your aesthetic, visualize your ideas, and make more informed design choices. By following these steps, you’ll be equipped to create a mood board that not only inspires but also serves as a practical tool to guide you through every stage of your interior design journey.

Creating textured paintings is a wonderful way for artists to add depth, dimension, and visual interest to their artwork. Textured paintings can evoke emotions, create a tactile experience for viewers...
Read more

Transform your home with budget-friendly DIY home decor projects. Explore creative ideas for every room, including living room, kitchen, bedroom, bathroom, home office, and outdoor spaces. Personalize...
Read more
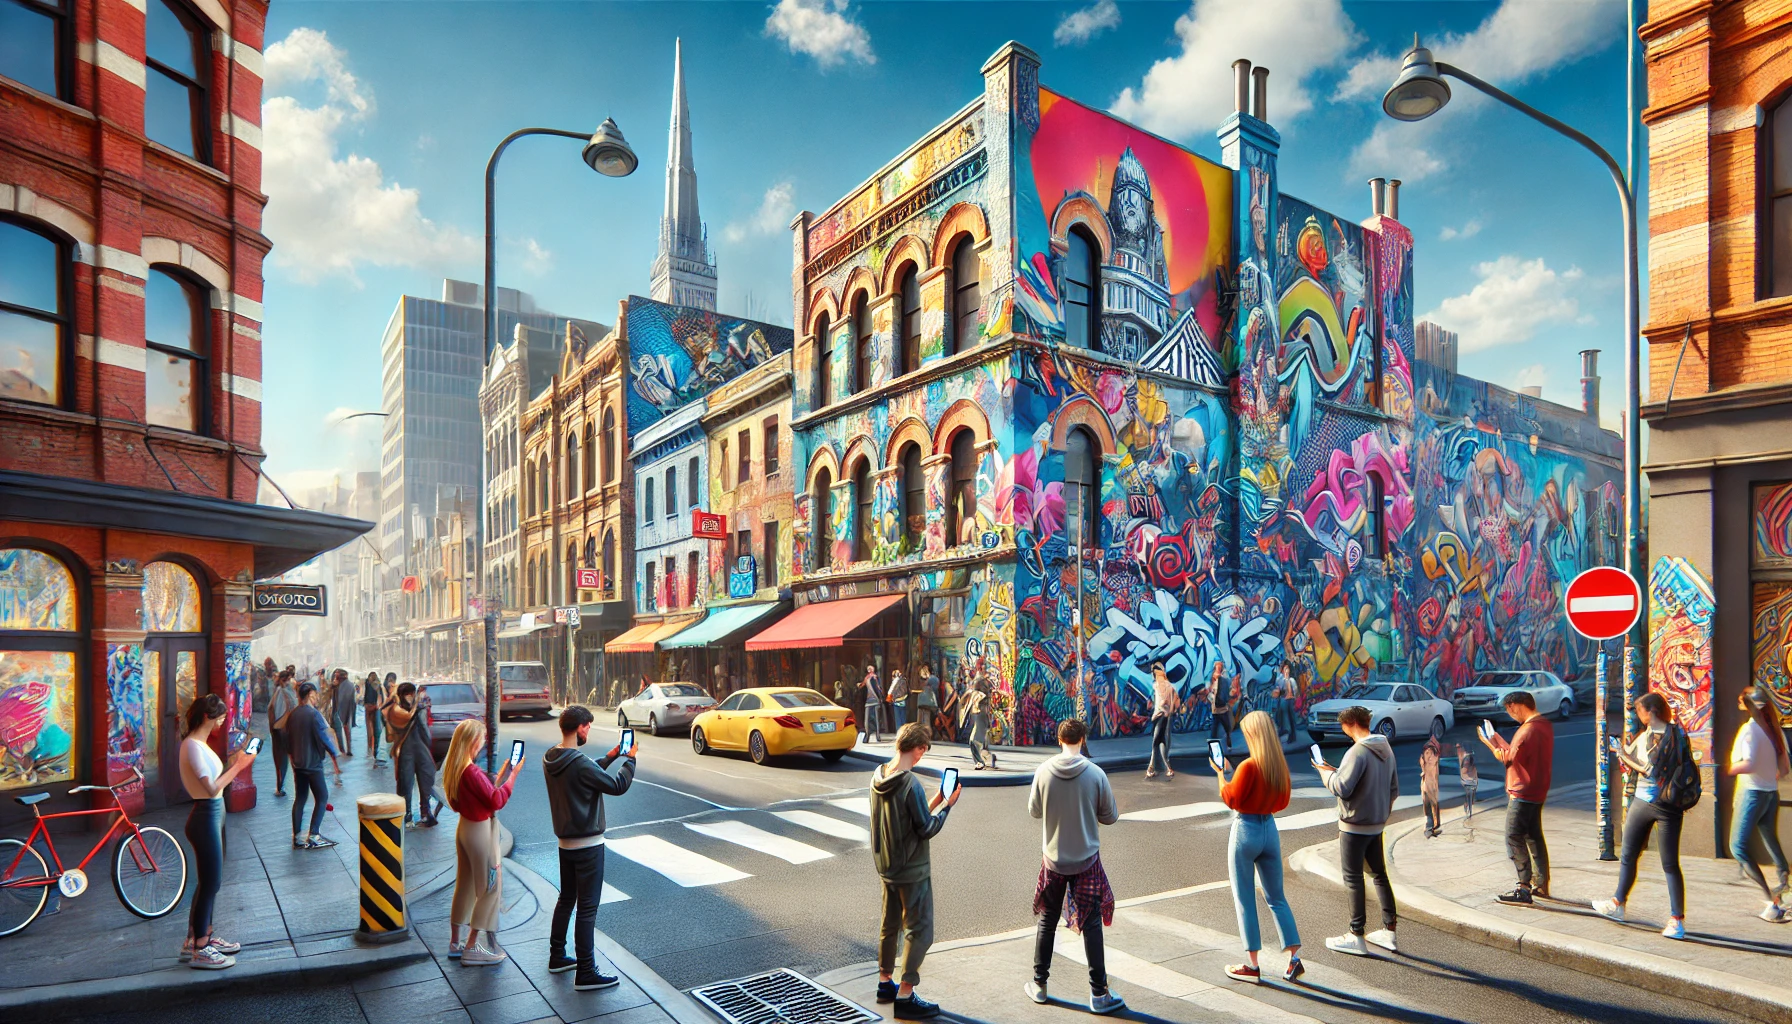
Explore the vibrant world of street art with top location tracking apps. Find, review, and enjoy murals and graffiti in cities around the globe. Learn about the best apps, their features, and tips for...
Read more
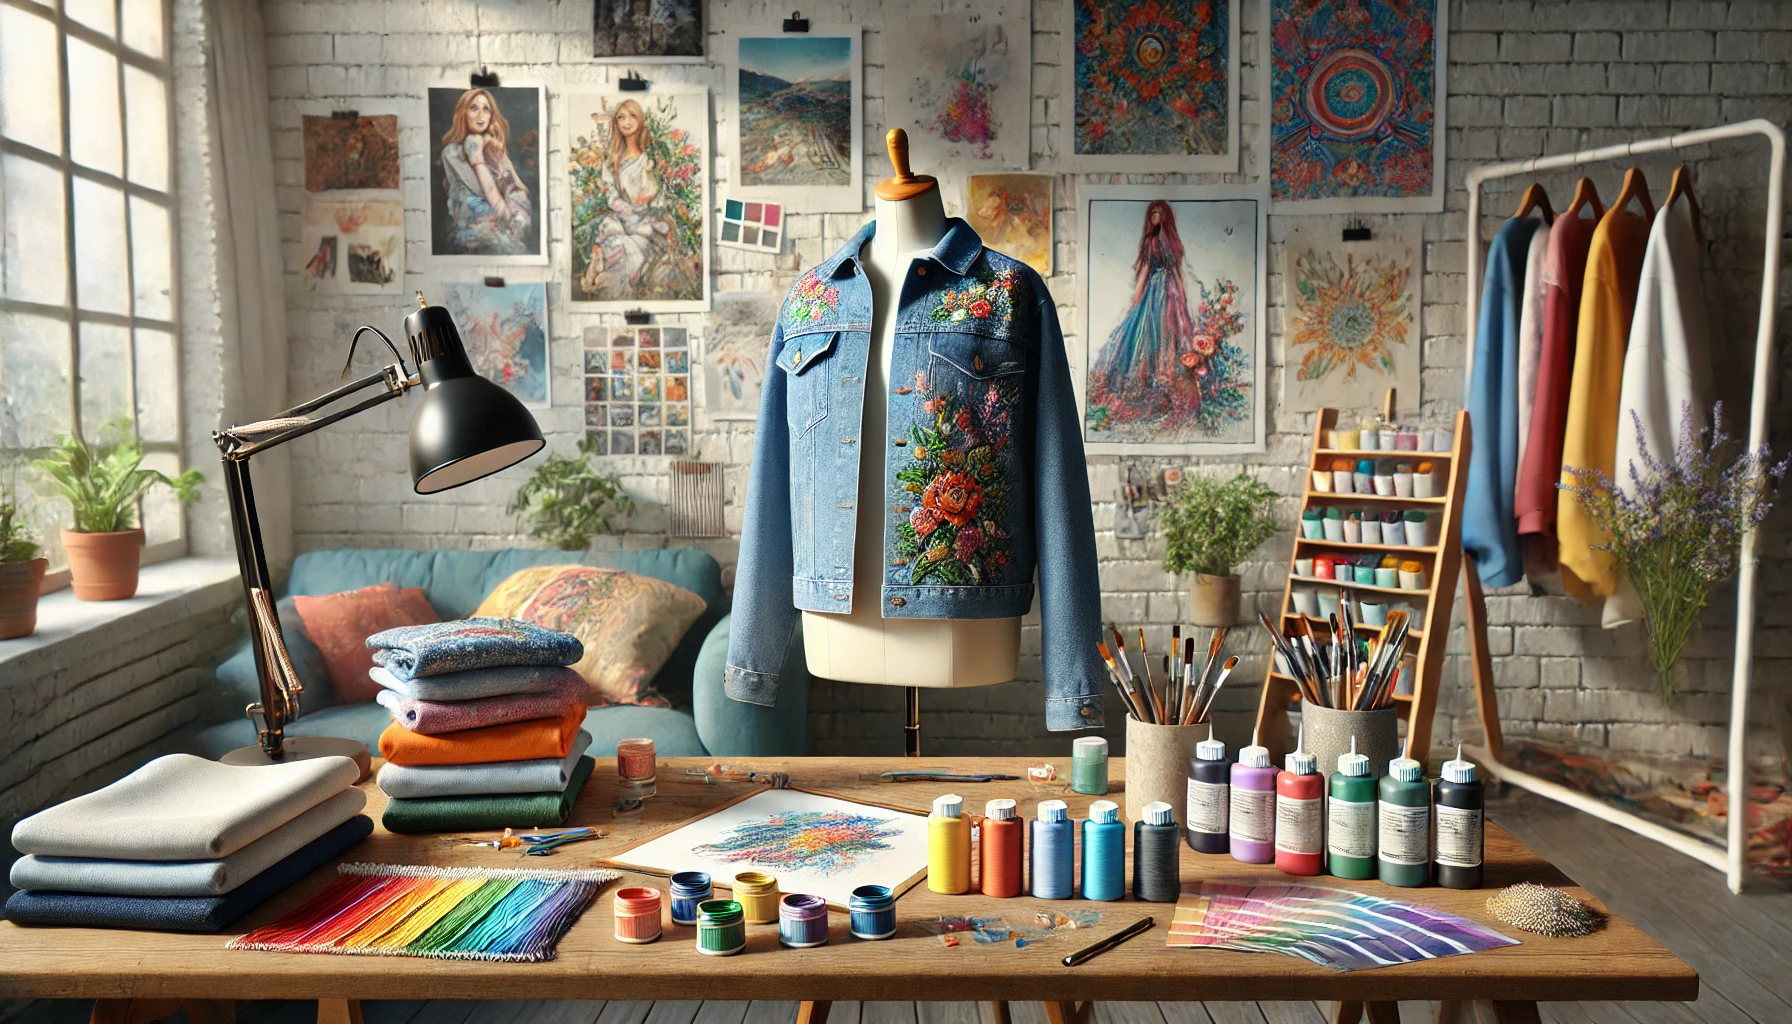
Learn how to create stunning, art-inspired fashion pieces at home! From finding inspiration and gathering materials to designing, personalizing, and showcasing your work, this guide covers everything ...
Read more