Coin collecting is a hobby about history, rarity and finely crafted currency. Every coin has a story, an era, and its own design that deserves to be preserved in rich detail. To get started, one of the best ways to improve your collection is by checking its current value. Coin ID Scanner is the best app to check coin value that combines identification with instant prices checks. It helps you evaluate each coin with accuracy before you even start photographing it.
You may be documenting your prized collection or sharing it with other numismatists, anyway coin photography can turn your collection into something more valuable. Today, you will find some expert tips, creative examples and essential equipment descriptions that will help you capture coins with true clarity and style.
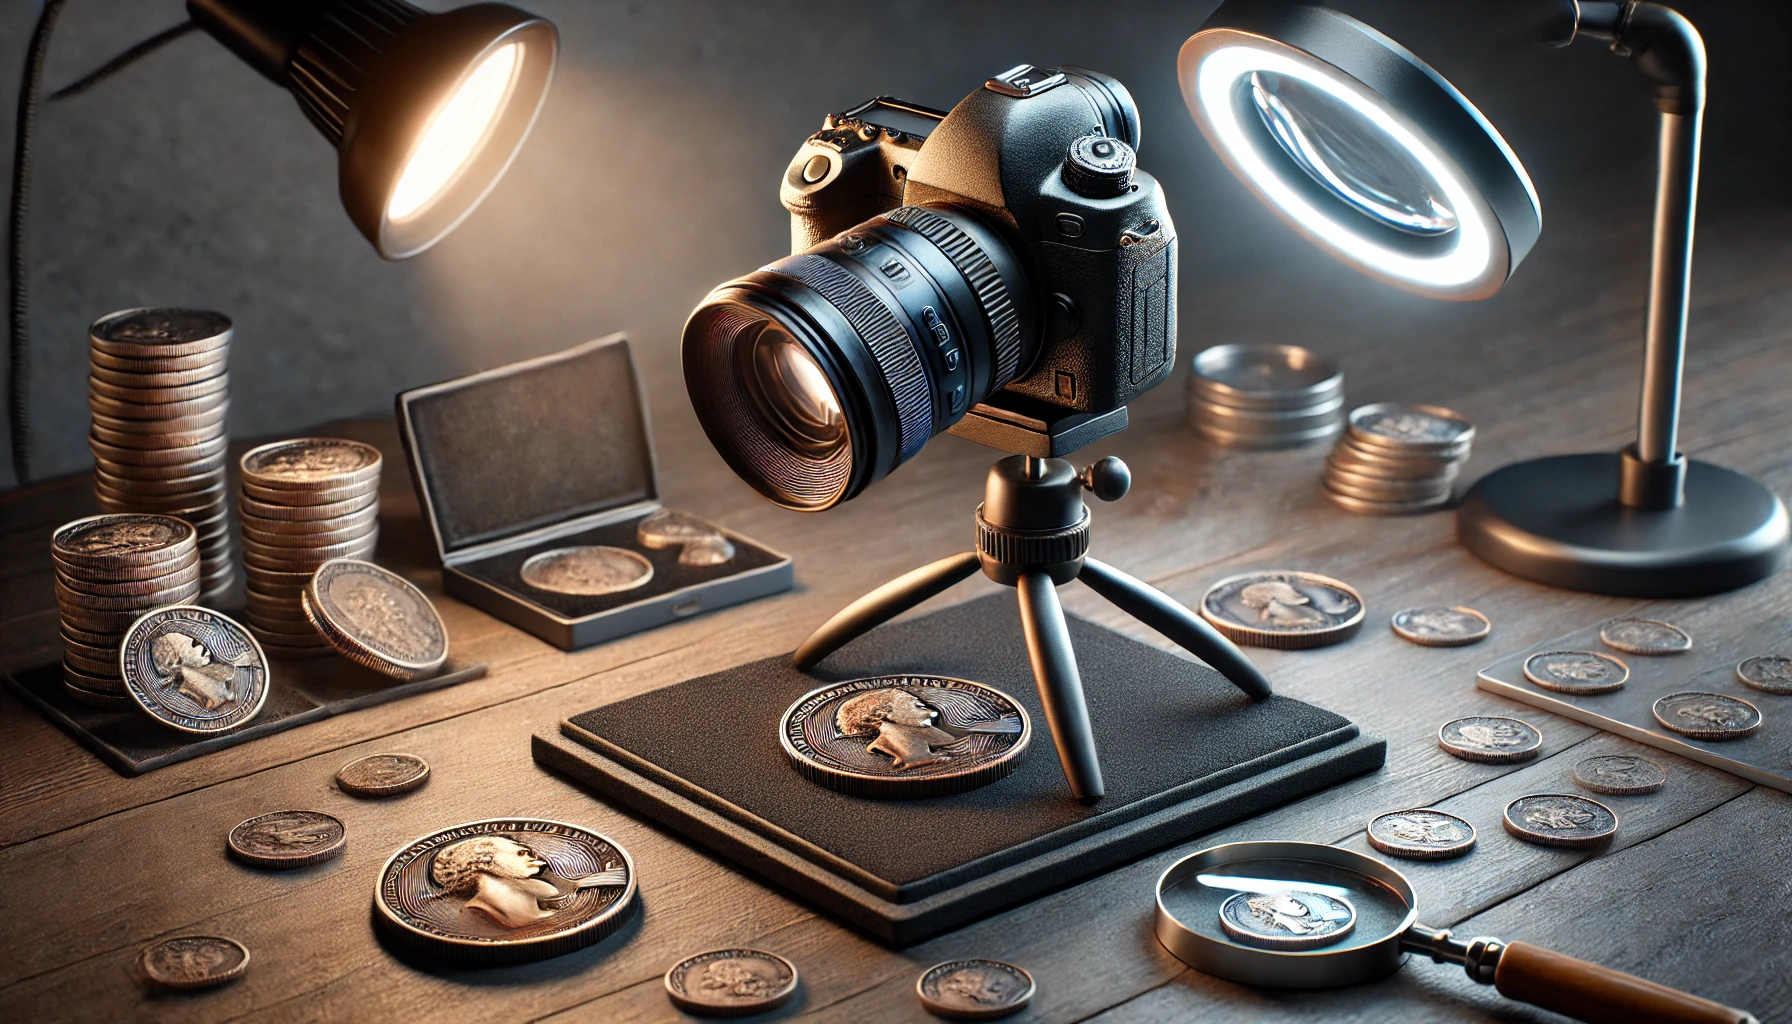
The type of equipment you use can make or break your coin photography. It is as your toolkit: every piece has a specific purpose, and if you know how to use them in harmony, it will bring out the beauty and details of your coins.
A high-resolution DSLR or mirrorless camera is the best option for capturing fine details, but do not underestimate modern smartphone cameras. Many phones now have excellent close-up capabilities. When in doubt, focus on a camera with manual controls, so you can play with light, focus and depth.
A macro lens is another important part of coin photography. You can zoom in on the tiniest of details and reveal textures and inscriptions invisible to the naked eye. Look for a macro lens with a focal length of around 50mm to 105mm; these lenses provide the perfect range for capturing coins without distorting them.
Even the steadiest hand can introduce slight shakes, especially in close-up photography. A sturdy tripod eliminates the slightest movement and so that your coin images are sharp and focused.
The way light falls on a coin can change its appearance. Natural light works wonders, but investing in two LED lights on adjustable stands can give you control over shadows and highlights. Look for lights that make it possible to adjust brightness and temperature—these settings are important for capturing the warm glow of bronze or the cool luster of silver.
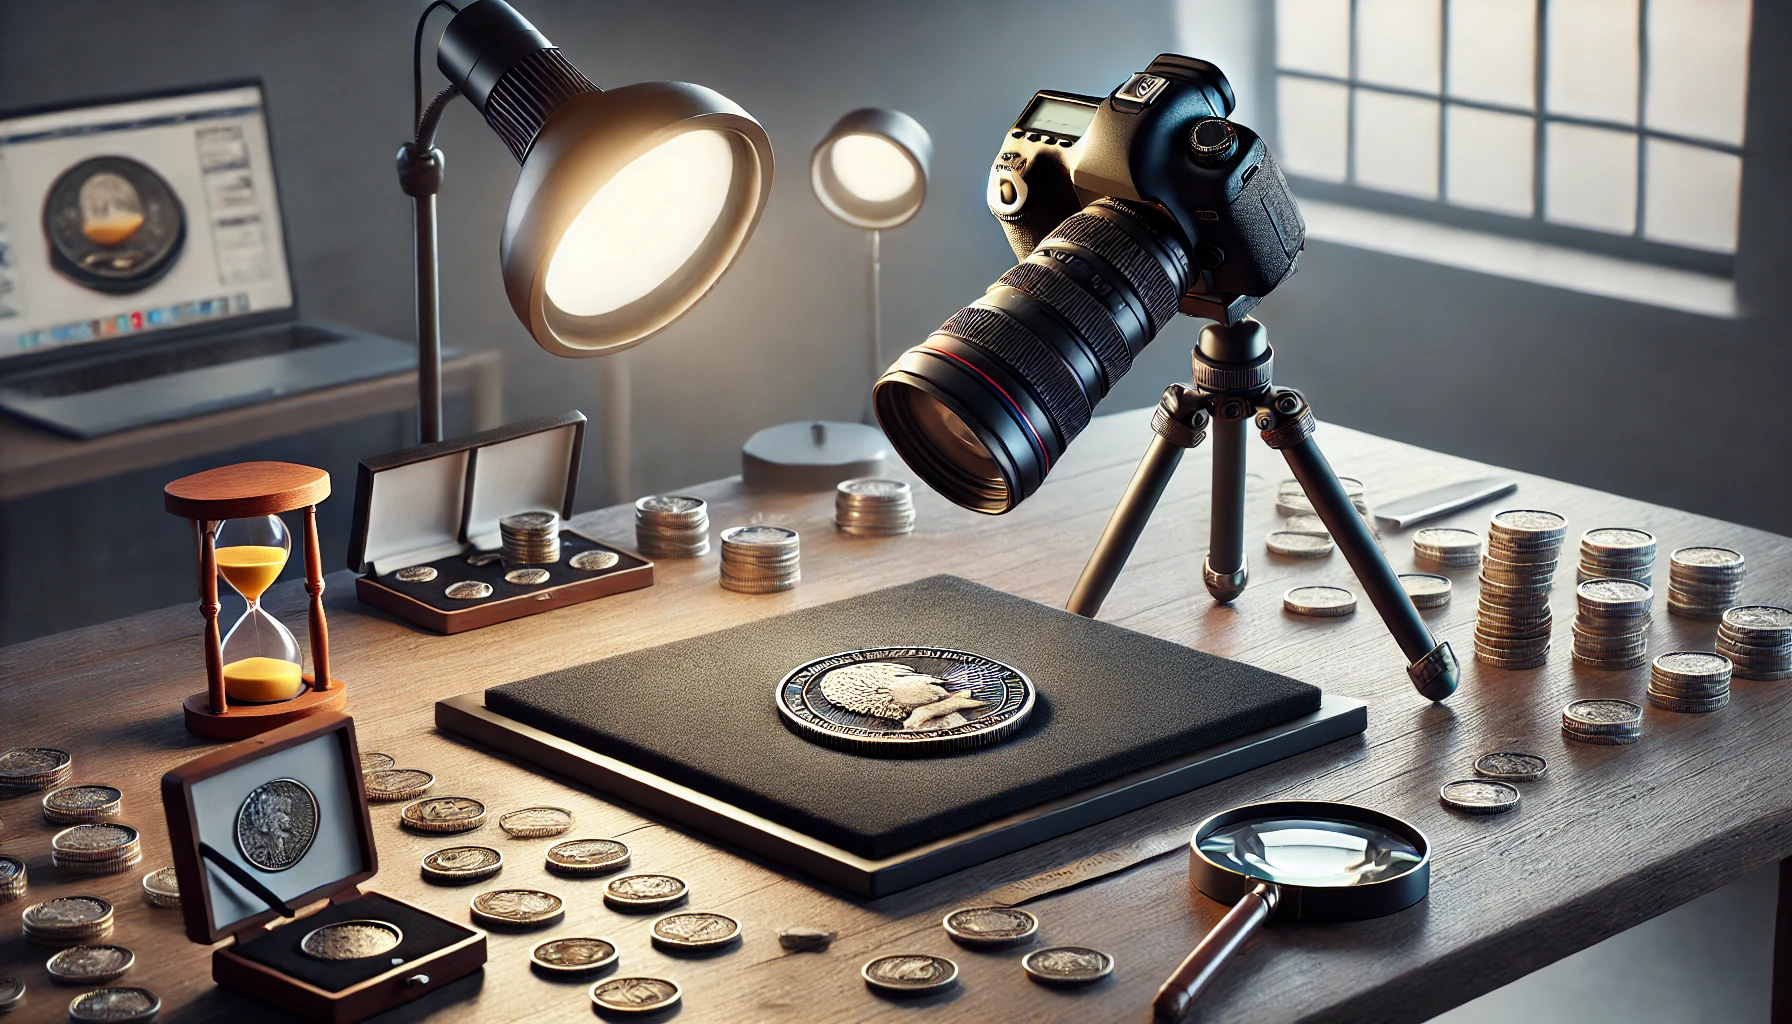
Once you have got your gear, it’s time to set up a mini studio. The right arrangement can highlight the distinct features of your coins and create a professional-quality photo setup right in your home.
Background Basics: Choose a neutral backdrop to make the coin’s details pop. Black or dark gray backdrops can bring out the coin’s metallic luster, while white backgrounds highlight its shape and color. For a creative twist, try using a matte fabric or even a sheet of velvet.
Lighting Positions: Place two lights at 45-degree angles to the coin. This setup minimizes harsh shadows and illuminates every ridge and curve. You can even use a lightbox or softbox to diffuse the light, which reduces glare on reflective surfaces and softens shadows.
Diffusers and Reflectors: If your coin has a highly polished surface, you may use diffusers around your lights. Diffusion softens the light and prevents sharp reflections, especially on coins with a mirror finish. Reflectors, on the other hand, bounce light onto areas that need a bit more illumination.
How you frame your shot and position your coin will bring out its best features. Start with a simple centered shot to emphasize the coin’s symmetry and design. This lets the coin’s artwork speak for itself and captures it in its entirety.
Moreover, don’t just settle for a top-down shot. Capture the coin from various angles to reveal different features. A slight tilt brings out shadows that give depth. This will help you show inscriptions and textures that might be flat from a direct angle. A side angle, for instance, can emphasize the raised edges of reliefs and enhance the three-dimensional aspects of the coin’s design.
For coins with intricate or historic details, e.g., a monarch’s portrait or an emblem, go for extreme close-ups. Zoom in on significant elements like the date, mint mark, or textures. Macro shots that focus on one area can bring a great effect to your photos.
To bring out every facet of your coin’s design, you will need to adjust your camera settings carefully. Here’s a breakdown of the settings that will help you capture each detail with clarity and precision:
ISO: Keep the ISO as low as possible (100-400) to reduce noise. Noise can obscure the finer details of a coin, giving it a grainy look. By maintaining a low ISO, you can capture a clean, detailed shot.
Aperture: Choose a narrow aperture (f/8 to f/16) to keep the entire coin in focus. A wider aperture (lower f-stop) will create a shallow depth of field, which may blur parts of the coin that you want to remain sharp.
Shutter Speed: A slower shutter speed will allow more light to hit the sensor, giving you a properly exposed image. Just be sure that your setup is stable, as a slow shutter can introduce blur if there’s any movement.
Even the best photos can benefit from some post-processing to refine details and correct colors. Adjust the white balance to ensure the color tones match the actual coin. For example, a gold coin should have a warm tone without appearing yellow or greenish, while silver should retain its cool, metallic look.
Use sharpness tools carefully to enhance details, but don’t overdo it—too much sharpening can make the photo look artificial. Contrast adjustments can help, too, by accentuating the ridges and textures on the coin.
After cropping, you may notice small imperfections in the background. Use tools to clean up the background, so that the coin is the focal point without any distractions.
Professional coin photographers often use imaginative techniques to make their shots stand out. Here are something creative to try:
Focus Stacking: If you want every tiny feature of the coin to be sharp, try focus stacking. Take several photos at different focus points and combine them in post-processing to create an image that is sharp from edge to edge. This technique is especially effective for high-relief coins.
Reflective Shots: Place the coin on a small mirror to capture a reflection. This creates an artistic effect and emphasizes the coin’s design for a polished, gallery-worthy appearance.
Themed Backgrounds: For coins with historical significance, consider themed backgrounds. For example, a Roman coin might look striking on a background featuring an ancient map or historical document.
Shadow Play: Coins with raised details benefit from dramatic shadows. By angling your light source and experimenting with shadows, you can emphasize inscriptions and designs.
Coin photography may seem simple, but small mistakes can detract from the final image. Remember that too much light can wash out the details on a coin, making it look flat. Always take test shots to find the right balance, and use a diffuser if the light is too harsh.
Fingerprints or smudges can be visible on high-resolution photos. Handle coins with gloves and clean them gently before photographing.
Every collector has their own collection, and as you practice, you will discover techniques and styles that work best for you. Document your setup, note down camera settings, and save your backgrounds and lighting configurations. This way, you can create a consistent style for your catalog and compare photos over time.

Discover innovative photography tips to enhance your skills. Learn how to master the fundamentals, play with light and shadow, experiment with perspective, and more. Elevate your photography game with...
Read more

Explore the vibrant world of street art with top location tracking apps. Find, review, and enjoy murals and graffiti in cities around the globe. Learn about the best apps, their features, and tips for...
Read more
Learn expert tips and techniques for photographing your coin collection with clarity and style. From essential gear to creative examples, discover how to make every coin shot shine with precision, usi...
Read more
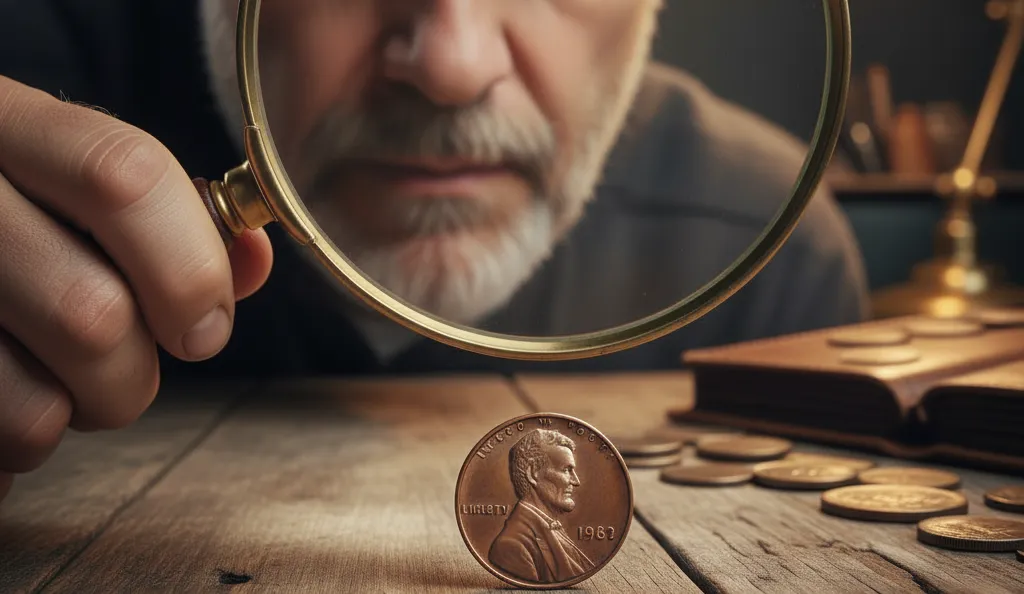
Find your valuable 1982 penny! Learn how to weigh Copper (3.11g) vs. Zinc (2.5g) types, find the rare Small Date, and check the high prices of perfect coins....
Read more